
How to Set Up a Kids’ Craft Corner in a Small Home
· Craftiverse Editorial Team
Create a practical craft space with one portable tray, a small supply box, safe tool storage, and a quick cleanup routine—no dedicated room required.
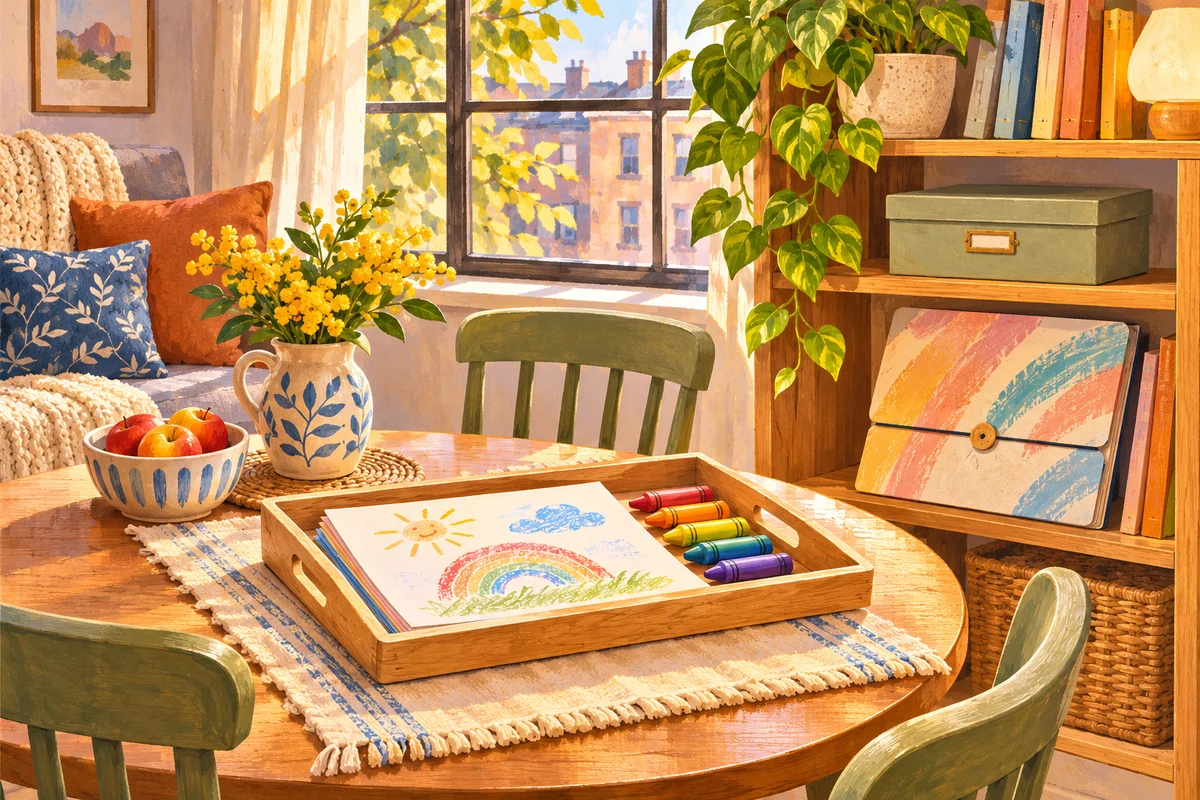
Illustration created for Craftiverse; the scene is illustrative.
Start with the space you already use
Choose a stable surface with comfortable seating and enough light. A kitchen table can work if you clear food, hot drinks, and anything sharp first. Use a washable mat or a suitable protective sheet when needed, keeping it flat so it does not slide around.
Before buying storage, measure where the supplies will live. If you can only spare a shelf, make that your limit. A portable setup should be simple enough that you will actually bring it out.
The three-part setup
| Part | Use what you have | What goes there |
|---|---|---|
| Work tray | A shallow sturdy tray or small box lid | Only today’s materials |
| Supply box | One reusable container | A modest selection of paper, crayons, and glue |
| Save folder | A large envelope or folder | Flat unfinished work and chosen drawings |
Choose a small starter kit
Begin with ordinary supplies rather than an all-purpose shopping list. Check labels and condition, including whether a product is suitable for your child and how it should be used. Keep the original packaging information when transferring supplies to another container.
- Plain or scrap paper, with private information removed.
- A few crayons or washable markers suited to your child.
- A glue stick and paper scraps for supervised sticking.
- Child-safe scissors only when suitable, with the supervision your child needs.
- A cloth for wiping and a container for reusable offcuts.
Separate independent choices from supervised tools
A child-accessible box can contain materials you are comfortable letting that child choose. Scissors, sharpeners, small decorative pieces, strong adhesives, and adult tools may need separate secured storage. A high shelf alone may not be sufficient if children can climb to it.
Consider the youngest child who can enter the space. Remove beads, loose googly eyes, bottle caps, and similar small parts where they create a choking risk. Do not use food containers that could confuse children about what is edible.
Set up in three small steps
- Clear the surface and place the tray or mat. Check that chairs, tools, and materials are safe for the children joining in.
- Offer one project or two possible invitations. Put out the supplies for the chosen option, leaving the rest in storage.
- Decide where wet or unfinished work can rest before you begin. Use a stable spot away from meals, heaters, and smaller children.
Make cleanup part of the setup
Tell your child where things will go before starting: “Paper goes in this folder; crayons go in the cup.” Give a short warning before stopping and one concrete job at a time. You might cap the markers while your child collects large paper pieces.
Separate reusable scraps from rubbish without requiring a perfect sorting system. If cleanup repeatedly takes longer than play, reduce what comes out next time. A smaller invitation is often easier to manage than adding more storage.
Adapt it to your home
Renting or avoiding wall fixtures? Keep everything portable and use removable labels on containers. Sharing a dining table? Choose dry materials and store the whole tray between sessions. No space for three-dimensional projects? Build small, photograph only if you want a private record, then ask which parts can be reused.
For more than one child, give each a clear work area and a small personal paper pile. Keep shared tools in a central spot you can supervise. You do not need duplicate sets of everything, but a turn-taking plan helps.
Try a one-week storage check
After a week, ask: Can we reach what is safe? Can we find glue quickly? Where do unfinished projects end up? What never gets used? Adjust one thing rather than redesigning the entire corner.
Let your child help label a box with a drawing. Keep only a manageable amount of clean cardboard. A useful craft corner makes starting and stopping easier; it does not need to look like a photo from a catalog.
Common questions
How much should I spend?
There is no minimum budget. Try supplies and containers you already own, then replace or add only what you find yourself needing.
Can I leave craft supplies out all day?
Only leave materials accessible when they are appropriate for every child who can reach them. Store tools, small parts, and anything requiring supervision securely.
What if we have no dedicated table?
Use a cleared shared surface when available and pack the tray away afterward. Choose activities that fit that surface rather than expanding the storage.
Sources & editorial notes
This is an original Craftiverse home-organization guide, not a research summary. Storage suggestions should be adapted to your home and the children who can access the space.
Written by the Craftiverse Editorial Team · Published 21 November 2026. This article has not been reviewed by a clinician. Read our about page or contact us about a correction.
Build a simple craft supply drawer