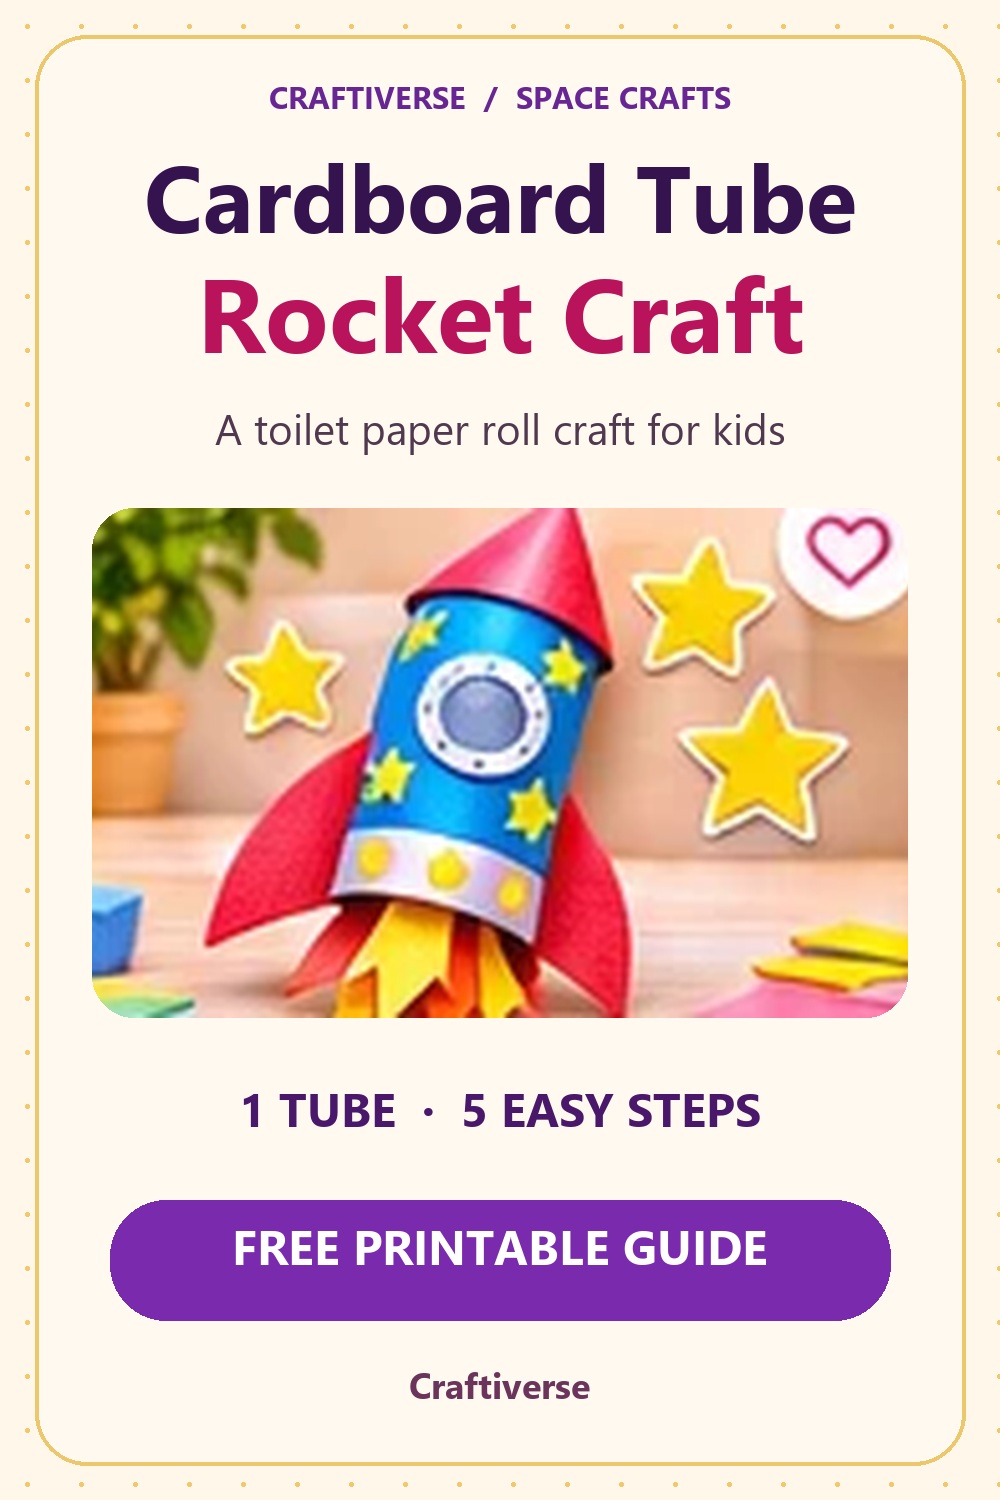
Cardboard Tube Rocket Craft for Kids
· Craftiverse activity notes
Turn an empty toilet paper roll into a colorful rocket with paper fins and tissue-paper flames. Follow five illustrated steps and print the free guide.
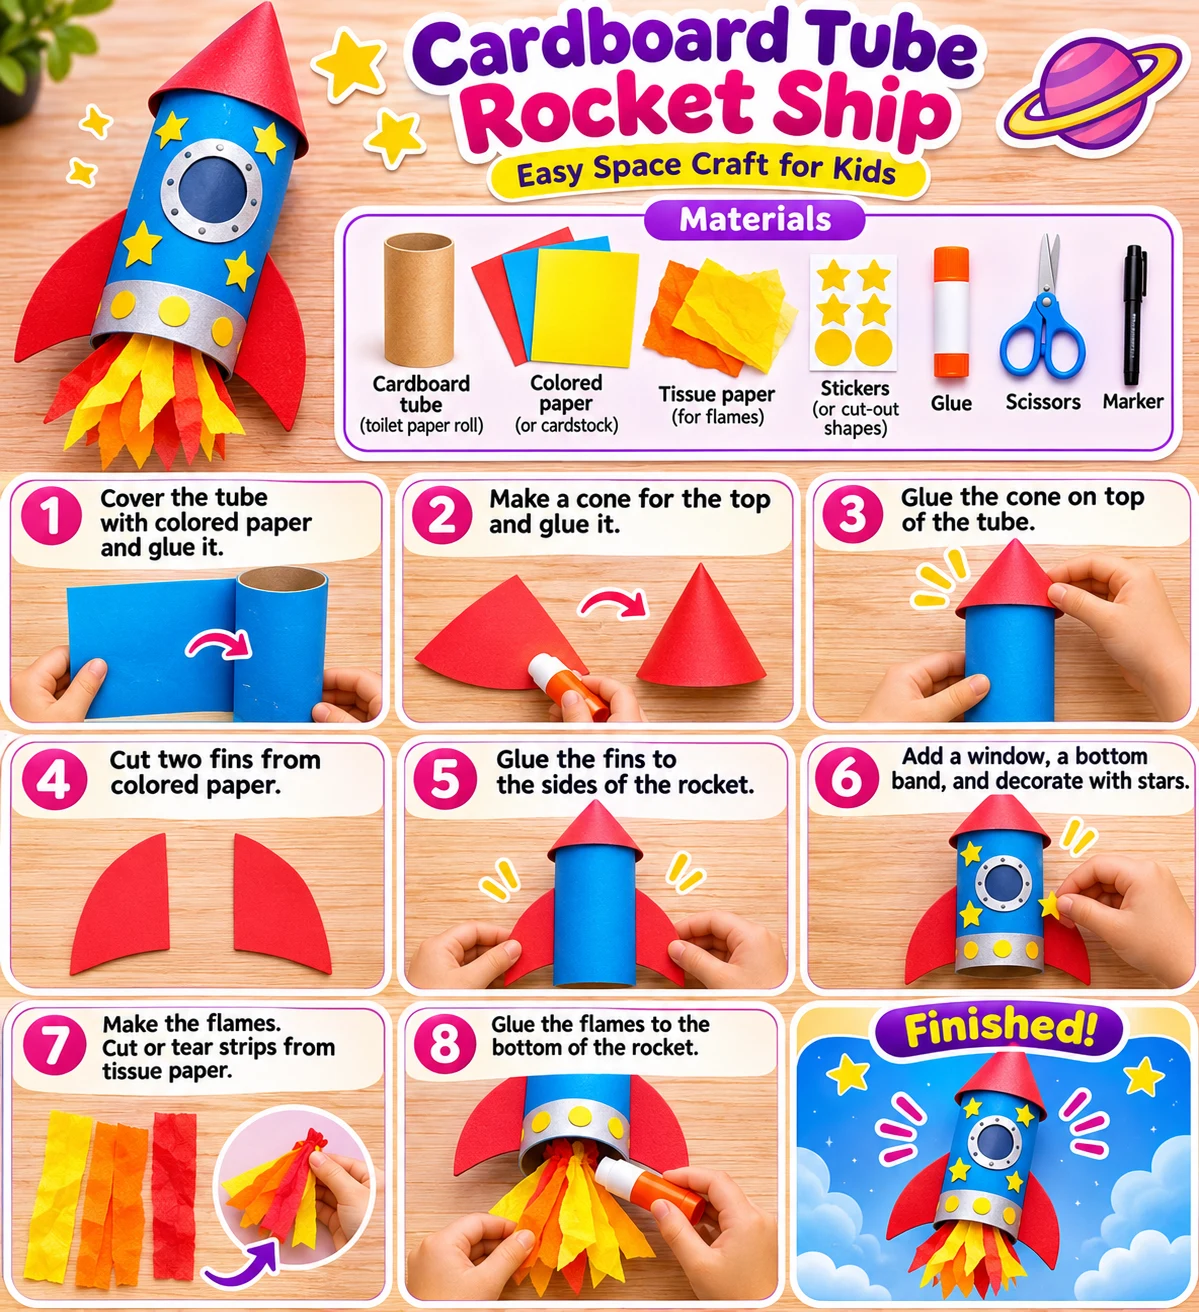
What you’ll need
- One clean, empty toilet paper roll or similar cardboard tube
- Colored paper for the body and cardstock for the cone and fins
- Red, orange, or yellow tissue paper
- A glue stick, child-safe scissors, and a marker
- Optional stickers or paper scraps for decoration
Allow about 25 minutes, plus time for the glue to set. A grown-up can help with cutting and fitting the cone.
1. Wrap the cardboard tube
Lay the tube on colored paper and mark its height. Cut a strip tall enough to cover the tube and long enough to overlap slightly. Wrap it around the tube and glue down the overlapping edge.
2. Make the rocket’s nose cone
Curve a piece of cardstock into a cone, then test it on the top of the tube before gluing the overlap. A grown-up can trim the bottom edge so it sits flat. Glue the cone in place.
3. Add two fins
Cut two matching fin shapes from cardstock. Leave a small strip along each straight edge and fold it into a tab. Glue the tabs to opposite sides of the tube, near the bottom. Hold them briefly so they stay in place.
4. Decorate the rocket
Cut out a paper circle for the window. Add a name, stars, or a colored stripe. If you’re using scraps, draw the window and stars with a marker to save cutting.
5. Add the flames
Tear or cut tissue paper into strips and glue one end of each strip just inside the bottom of the tube. Let the glue set before playing. If you don’t have tissue paper, use thin paper strips or color a paper flame and tuck it into the opening.
Try a five-minute space mission
Draw three planets on scrap paper and put them around the room. Give each planet a name and ask your child to tell you what the rocket discovers at each stop. The rocket is a pretend-play prop, so the whole mission can happen on the floor.
Open the free printable rocket guide
Keep making
Save this craft for later
Save on Pinterest · Download the Pin image