5 Quick Crafts for Kids With Paper, Scissors, and Glue
· Craftiverse activity notes
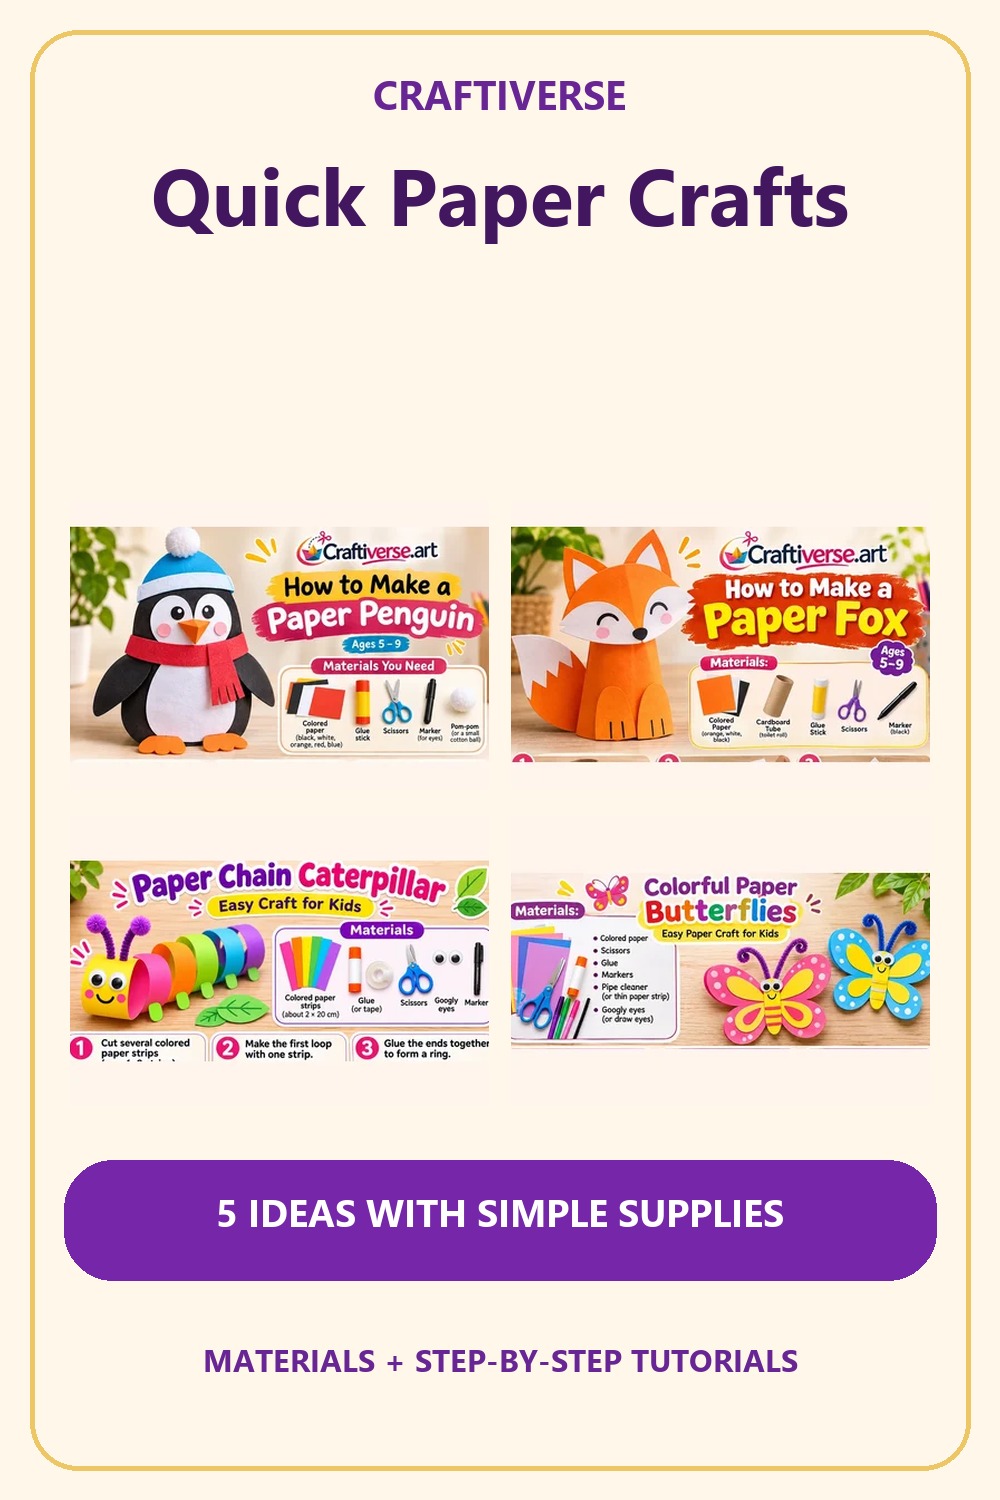
Make a penguin, a standing fox, a paper chain caterpillar, a layered butterfly, or a paper ice cream cone. Keep a marker handy for details.
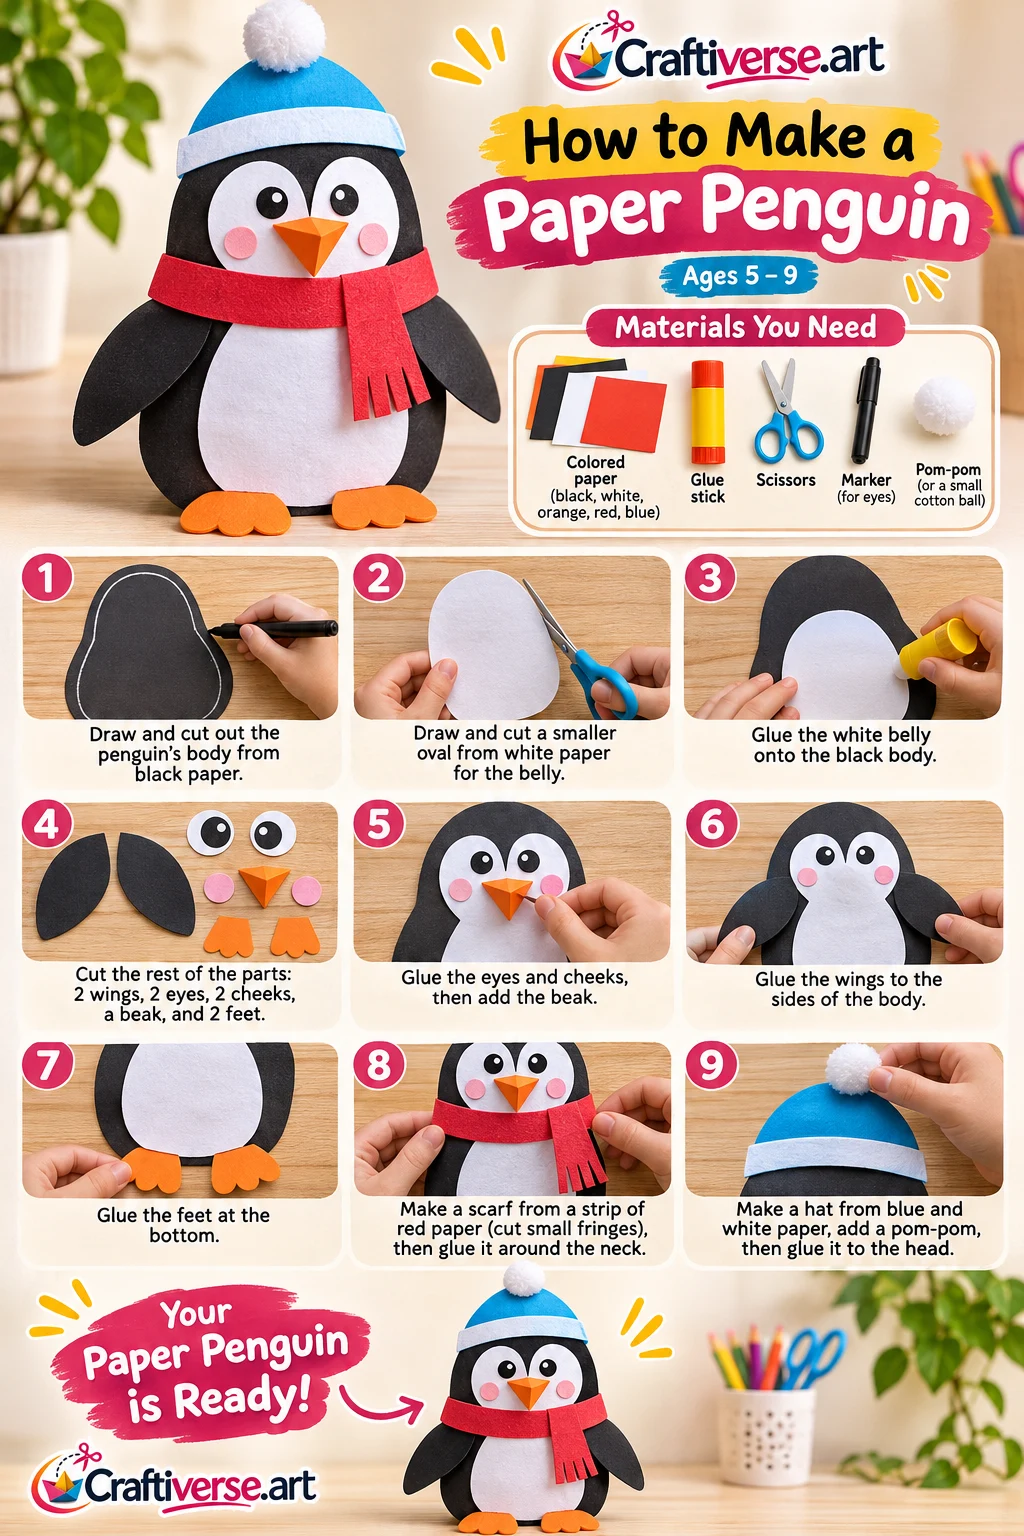
Cut-paper penguin
4 written steps · Allow about 15 minutes as a planning estimate; extra time may be needed for decorating or drying.
Materials
Black, white, orange and colored paper
Scissors
Glue
Marker
How to make it
Cut a black body and wings and a white oval belly.
Glue the belly and wings to the body.
Cut and attach an orange beak and feet and add paper eyes.
Add a paper scarf and hat.
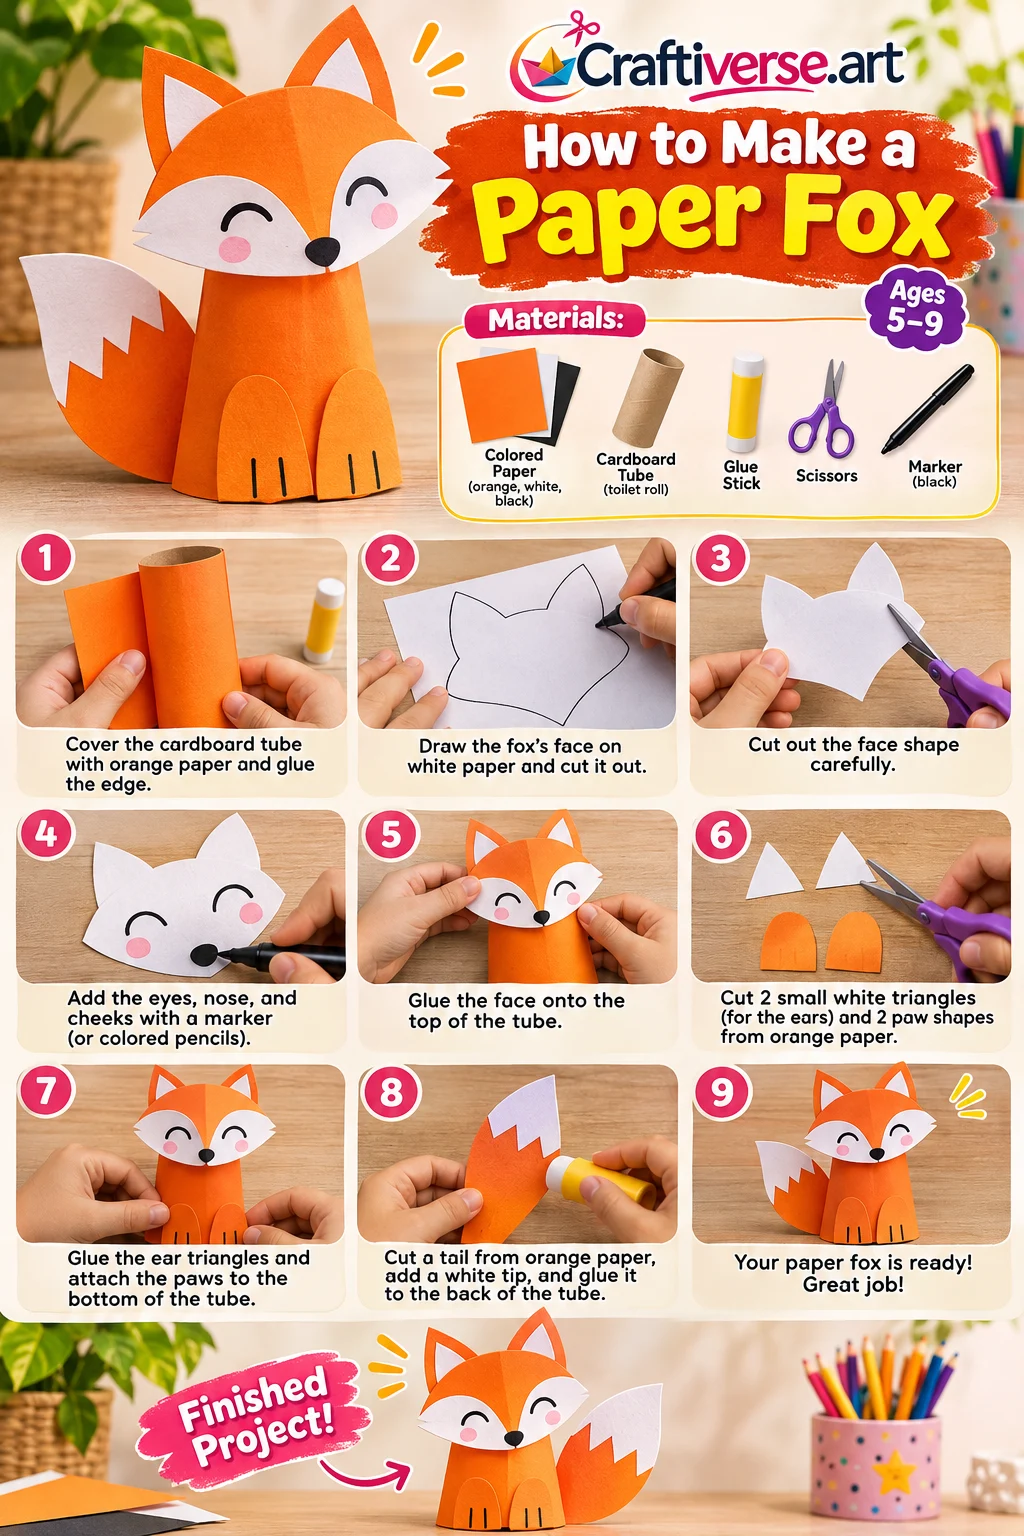
Standing paper fox
4 written steps · Allow about 15 minutes as a planning estimate; extra time may be needed for decorating or drying.
Materials
Orange, white and black paper
Scissors
Glue
Marker
How to make it
Roll orange paper into a standing body and glue the seam.
Cut and assemble a fox face, with pointed ears and white cheeks.
Attach the head and add a white chest and dark paws.
Cut a curved tail, add a white tip and glue the tail to the back.
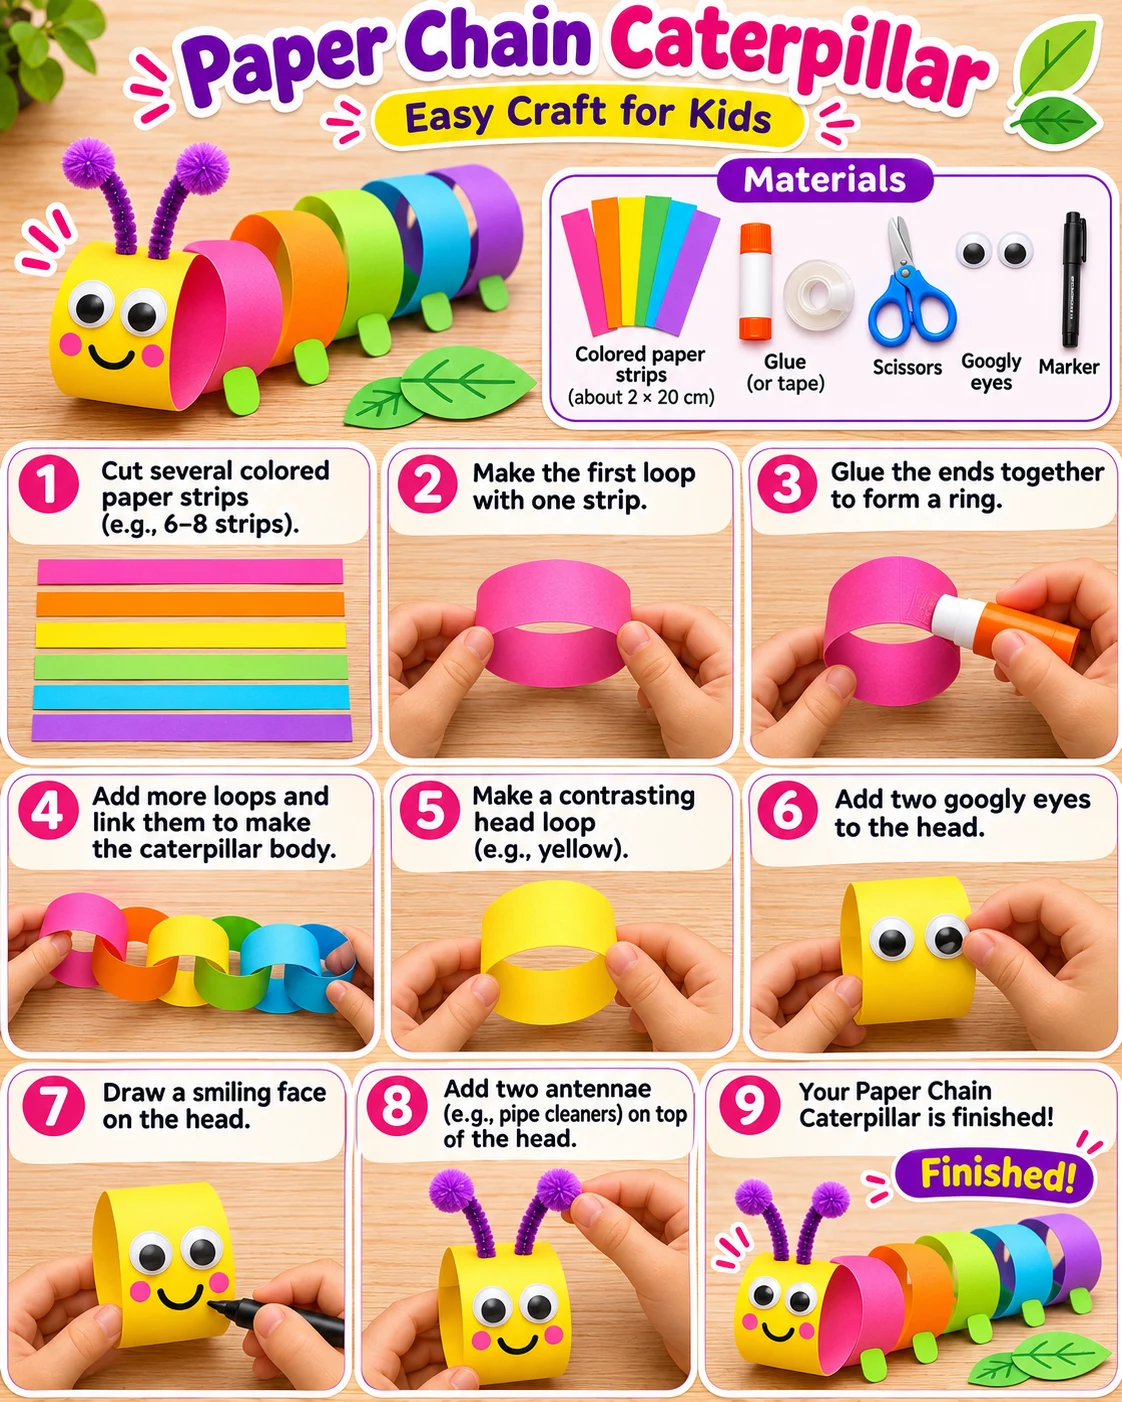
Paper chain caterpillar
4 written steps · Make at your own pace; a completion time has not been verified.
Materials
Colored paper
Scissors
Glue
Marker
Paper eyes
How to make it
Cut several strips of colored paper.
Glue the ends of one strip together to form a ring.
Thread another strip through it before gluing that strip into a ring. Repeat to make a short chain.
Cut a circle for the head. Add a face and two paper antennae, then glue it to the first ring.
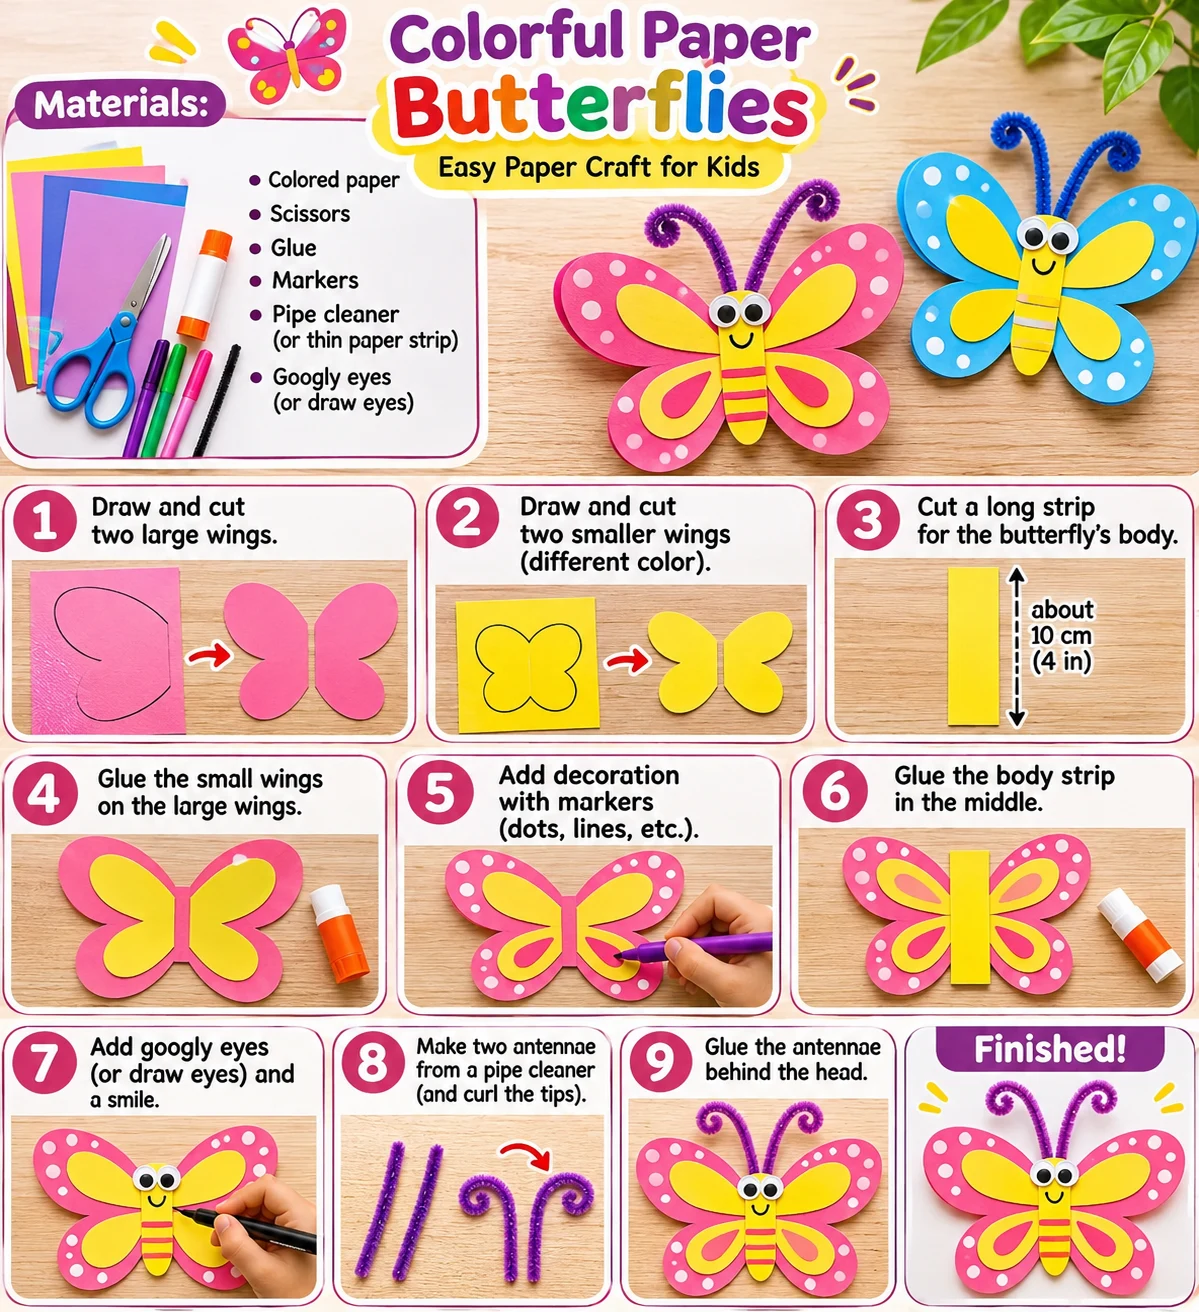
Layered paper butterfly
4 written steps · Make at your own pace; a completion time has not been verified.
Materials
Colored paper
Scissors
Glue
Markers
Paper eyes
Paper strips
How to make it
Cut out two large wings and two smaller wings in a contrasting color.
Glue the smaller wings onto the larger ones.
Decorate the wings with cutout shapes and marker dots.
Glue a narrow body down the center, then add eyes and curled paper antennae.
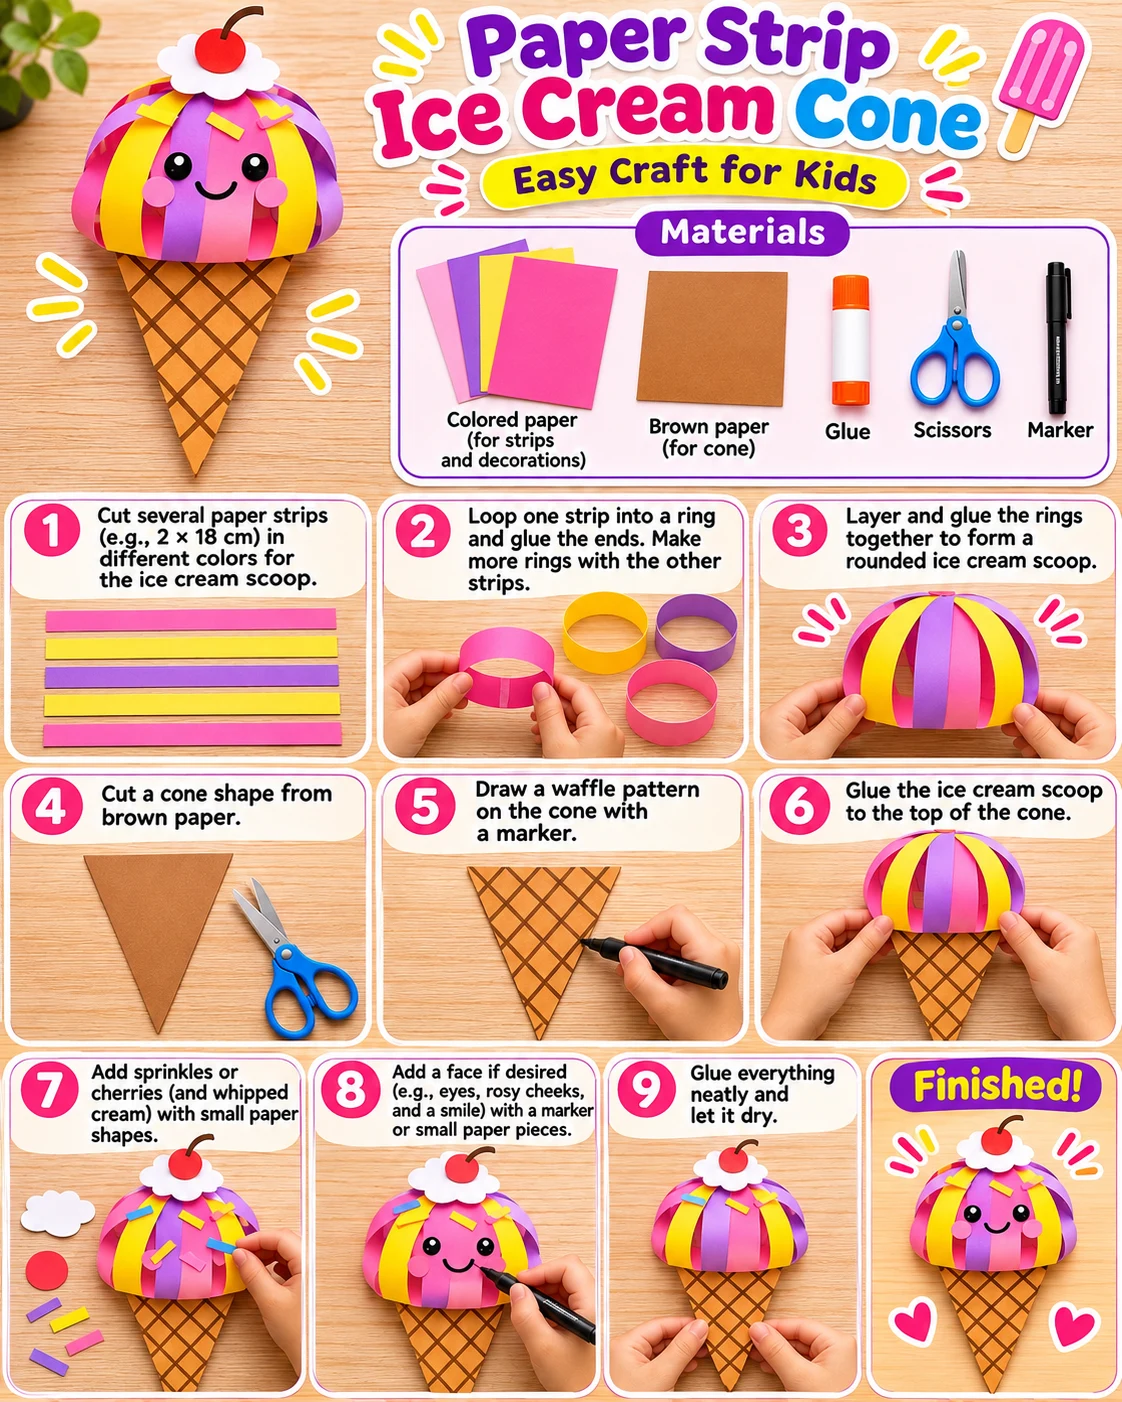
3D paper strip ice cream cone
4 written steps · Allow about 15 minutes as a planning estimate; extra time may be needed for decorating or drying.
Materials
Colored paper
Brown paper
Scissors
Glue
Marker
How to make it
Cut several equal paper strips and glue their ends together into loops.
Arrange and glue the loops into a rounded scoop.
Roll brown paper into a cone and glue the seam.
Attach the scoop and add small paper sprinkles.
Make the first project smaller
Choose one project, set out its supplies and cut the largest shapes first. The making time depends on the child and how much cutting they do. Prepare tricky pieces in advance if you only have a short break.