Make a bee, two butterflies, a caterpillar, and a ladybug using colored paper and basic craft tools.
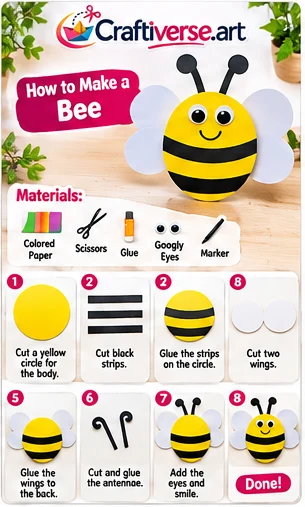
Paper circle bee
4 written steps · Make at your own pace; a completion time has not been verified.
Materials
Yellow, black and white paper
Scissors
Glue
Marker
How to make it
Cut a yellow circle for the body.
Glue black stripes across the circle and trim the ends.
Cut two white wings and attach them to the back.
Add paper antennae and draw a face.
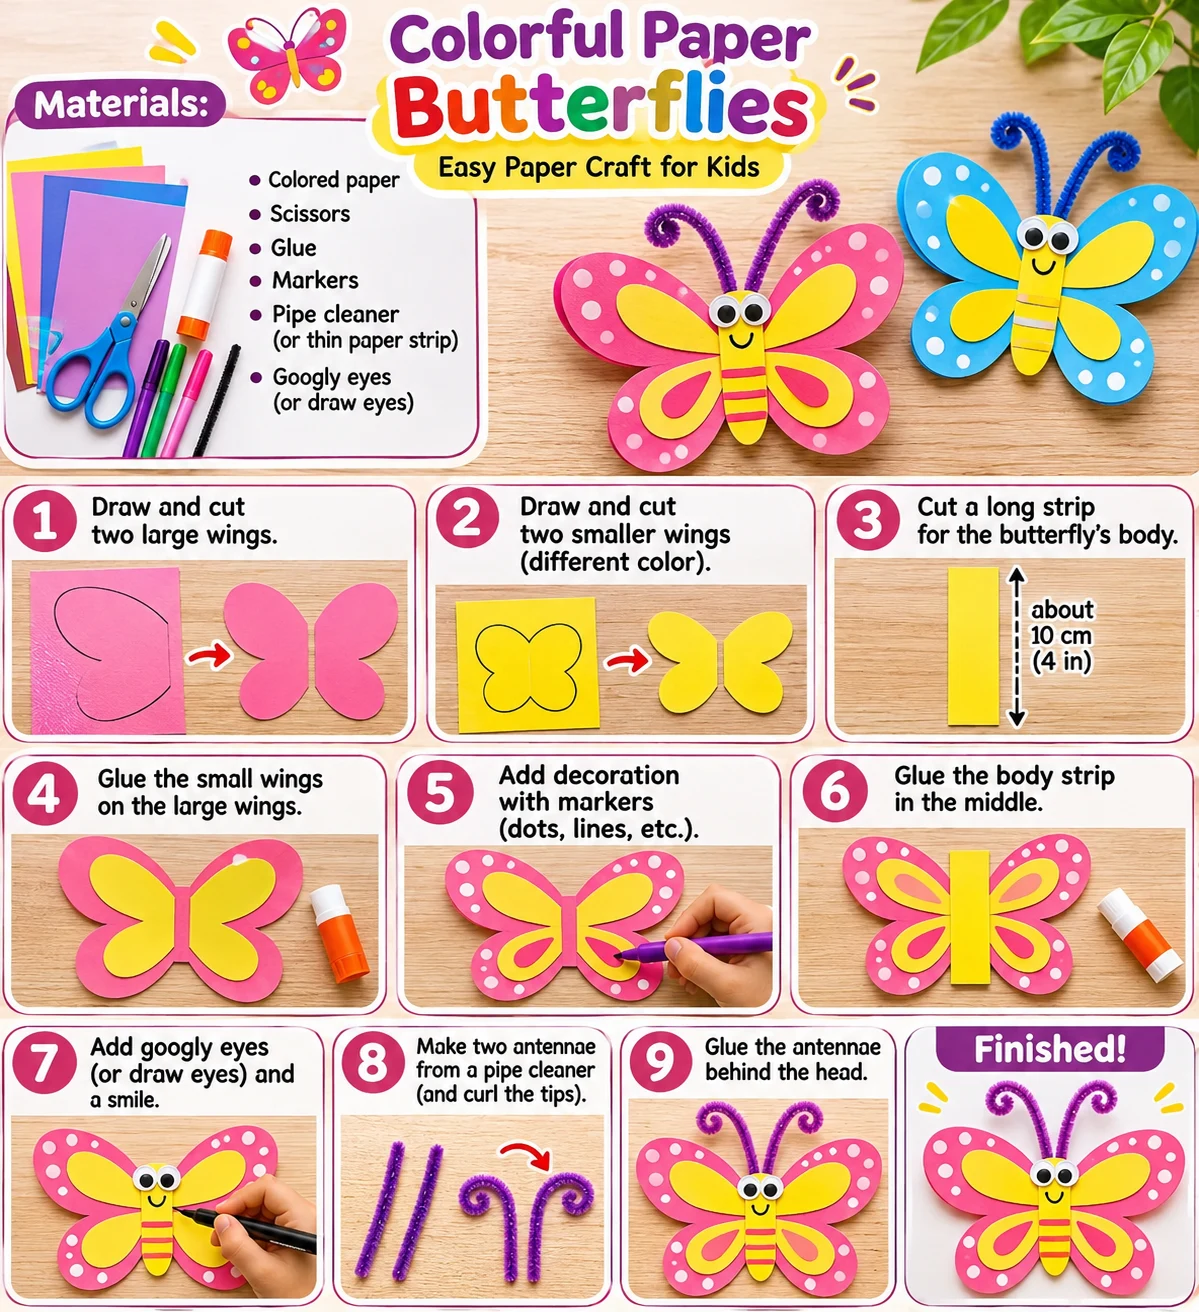
Layered paper butterfly
4 written steps · Make at your own pace; a completion time has not been verified.
Materials
Colored paper
Scissors
Glue
Markers
Paper eyes
Paper strips
How to make it
Cut out two large wings and two smaller wings in a contrasting color.
Glue the smaller wings onto the larger ones.
Decorate the wings with cutout shapes and marker dots.
Glue a narrow body down the center, then add eyes and curled paper antennae.
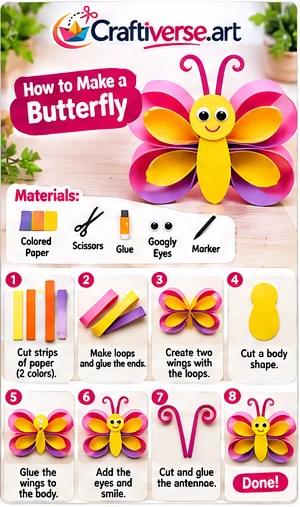
Looped paper butterfly
4 written steps · Make at your own pace; a completion time has not been verified.
Materials
Colored paper
Scissors
Glue
Marker
How to make it
Cut strips in two colors and glue the ends of each strip together into a loop.
Nest a smaller loop inside a larger one to form each wing.
Cut a paper body and glue two wings on either side.
Add eyes, a smile and two curled antennae.
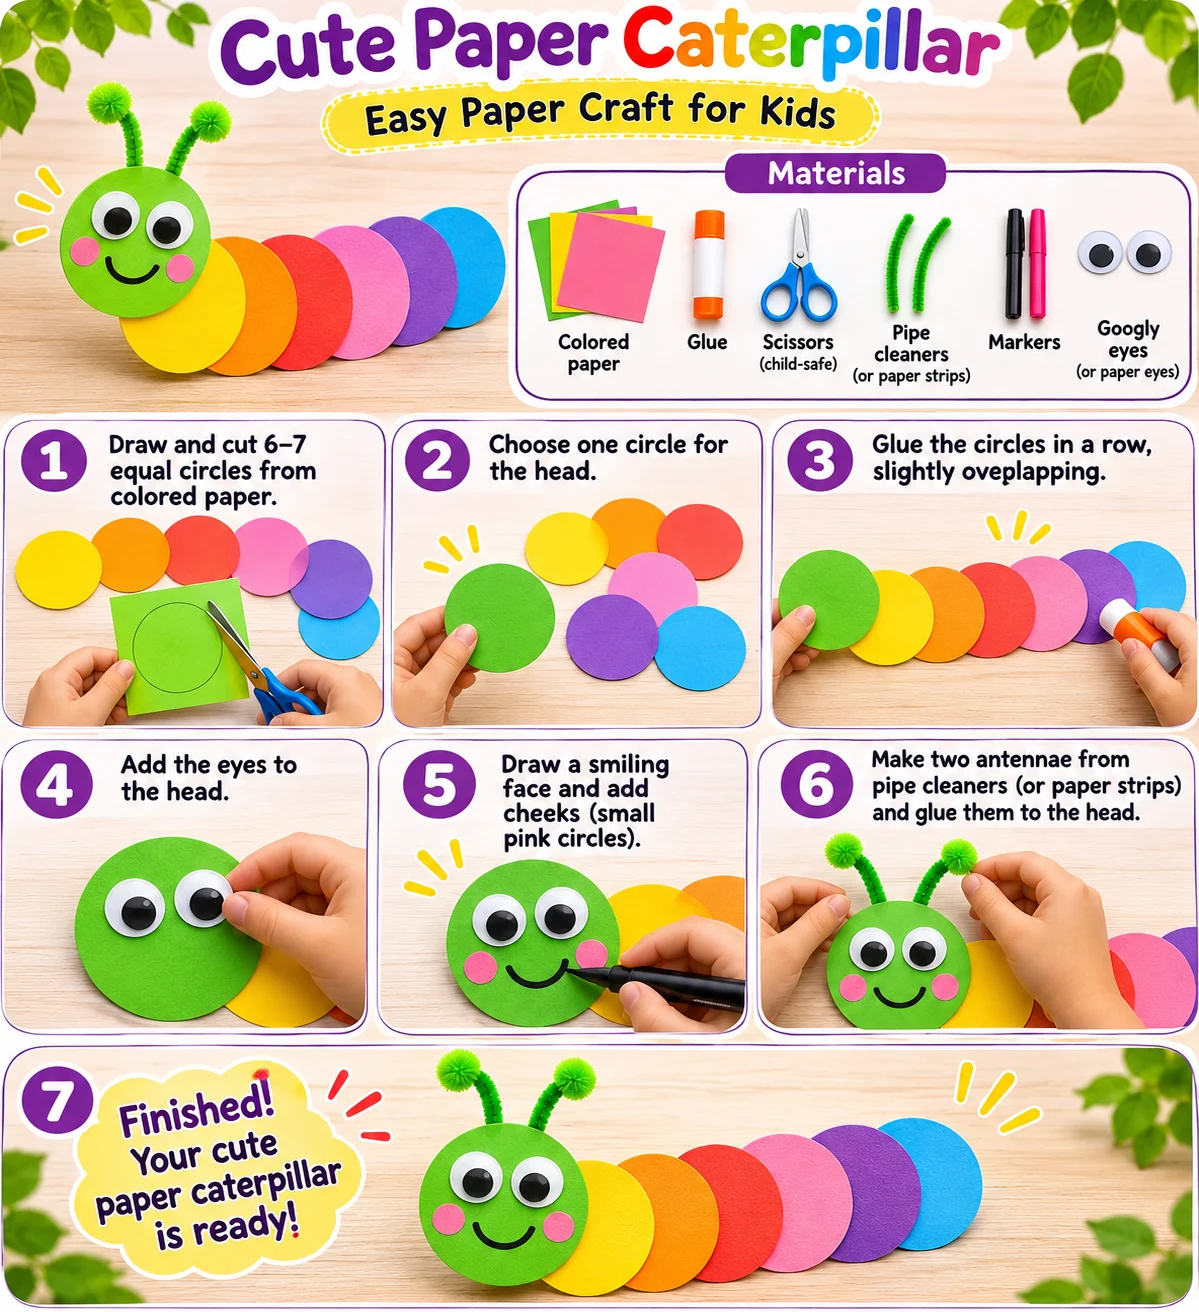
Paper circle caterpillar
4 written steps · Make at your own pace; a completion time has not been verified.
Materials
Colored paper
Scissors
Glue
Marker
Paper eyes
How to make it
Cut six or seven circles in different colors and another circle for the head.
Overlap and glue the circles in a gently curved row.
Add eyes and draw a smile on the head.
Glue the head to the front and add paper antennae.
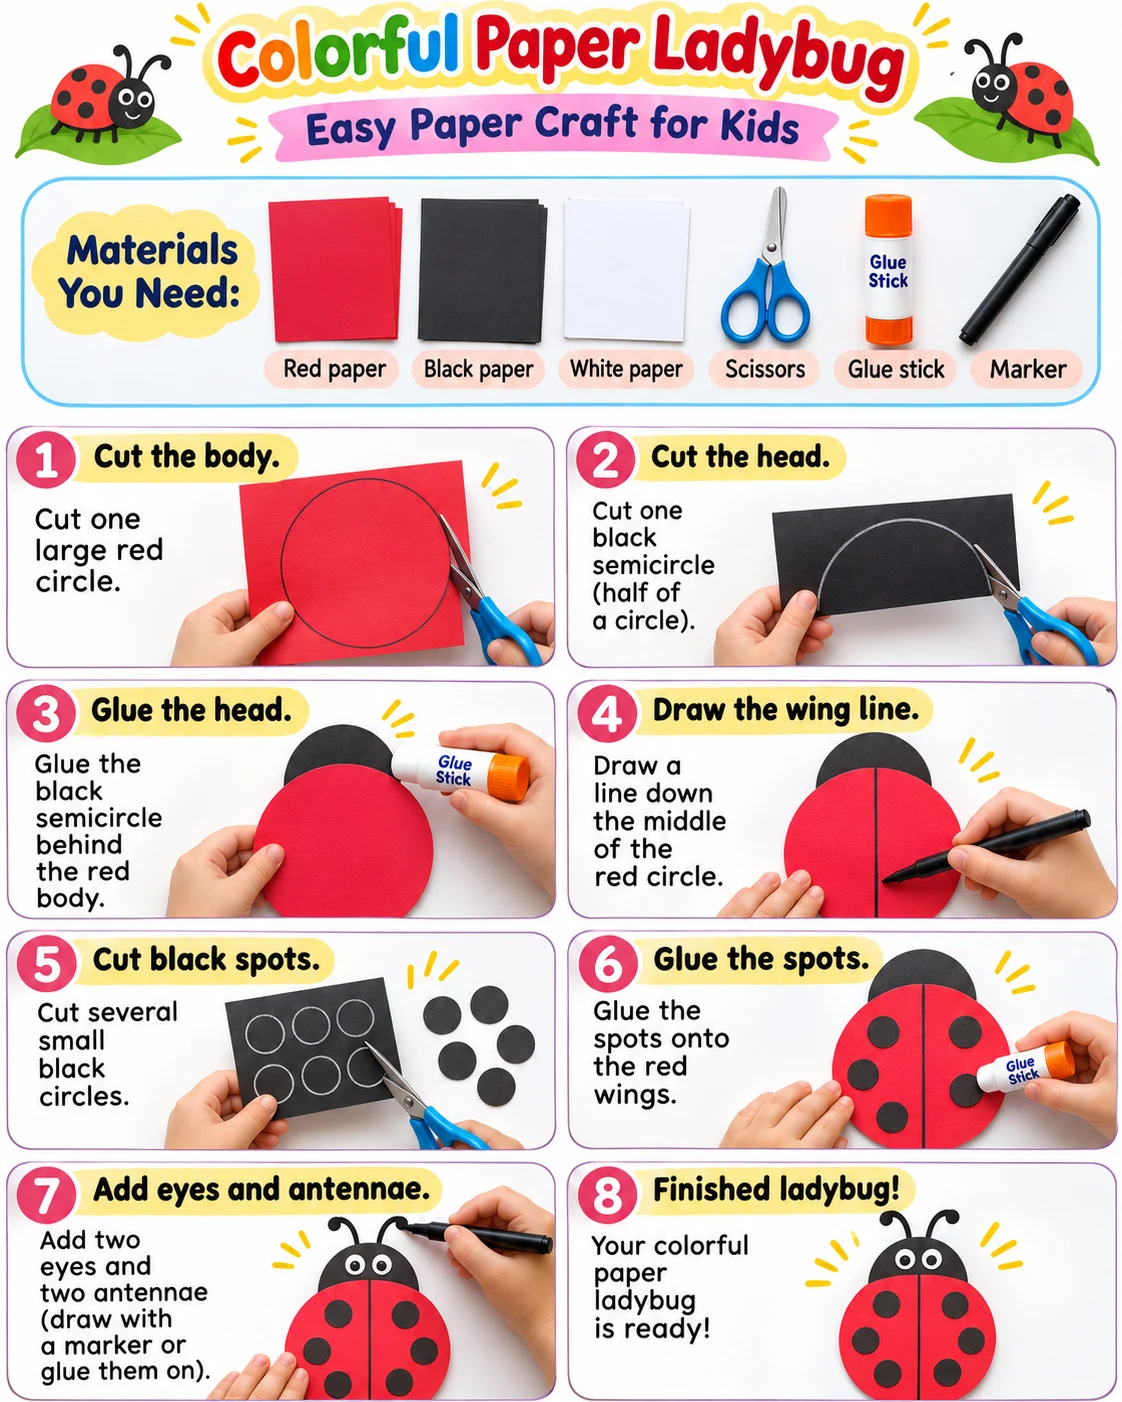
Cut-paper ladybug
4 written steps · Make at your own pace; a completion time has not been verified.
Materials
Red, black and white paper
Scissors
Glue
Marker
How to make it
Cut a large red circle for the body and a smaller black circle for the head.
Glue the head behind one edge and draw a line dividing the wings.
Cut black spots and glue them on each wing.
Add paper eyes and two narrow antennae.
Give your bugs a place to land
Fold a green sheet of paper in half so it can stand as a backdrop. Add paper leaves and place the bugs in front. Ask your child to choose which bugs have wings and where they would hide in a real garden.